- (770) 759 0786
Guide to 3D Printed Architectural Model: From Concept to Physical Reality
Introduction
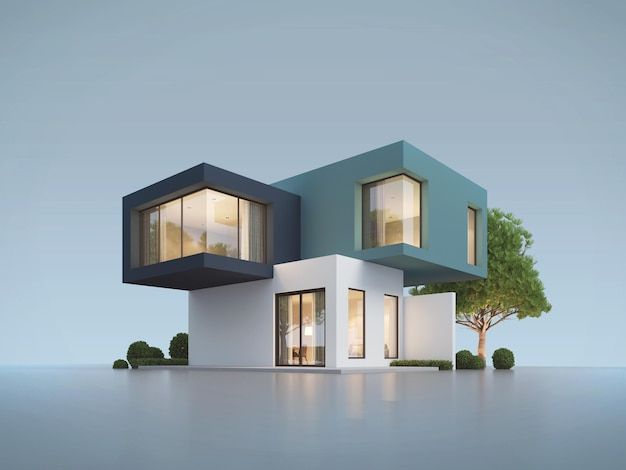
When you design a building, you usually draw it out or make some digital renders to share your idea. 3D printed architectural models help you take that one step further. It makes your design a physical model that clients can touch and investigate. While 3D Exterior Rendering and 3d visualization help bring your design to life on a computer, a 3D printed model gives you something that you can actually hold, which makes it much convincing. You will find out in this guide how 3D printing works in architecture, what technologies to use, and the step-by-step process to prepare and finish your model.
Why Use 3D Printed Architectural Models?
Advantages Over Traditional Model Making
When it comes to Traditional model making, the process can take a long time due to the repetitive tasks that need to be done. Spending days or even weeks on cutting, gluing, and shaping the materials is not a long-term solution. 3D printing helps you to:
- Design a model for the needed specification to a much higher degree.
- Understand and design some complex geometries that would be close to impossible to craft by hand.
- Make pre-defined alterations to the model and get results in a much faster time canvas.
- Help a customer understand your model to a much higher degree with something they can actually touch.
- Adding to What You Use Digitally
I can see how you use digital tools to improve your design. The 3D Exterior Rendering tool helps you figure out how 3D designs fit together and determine their shapes and textures, and how different light effects will influence each design. The 3D visualization helps you compare proportions to the space and determine how people will use the various spaces. A printed model helps finish the workflow. You can digitally visualize the design, make adjustments, and present a physical printed model that captures the main essence of the design.
Important Technologies and Resources for Architectural Models
Different 3D Printing Methods
- SLA / DLP (Resin-based printing): Produces fine 3D details and smooth finishes for 3D printing a scaled model, ideal for facade studies.
- FDM (Fused Deposition Modeling): Less precise, but good for large prototypes and low cost.
- SLS (Selective Laser Sintering): Makes dense models using a laser and 3D model powder.
- Binder Jetting / Color Printing: Lets you make models in the site context and the colored terrain for context.
Material Choices
- Resins: Give smooth 3D details in transparency or toughness.
- PLA or ABS filaments: Basic models use cheap and easily acquired filaments.
- Nylon or polymer powders: SLS printing excels with these materials, as they are strong and durable, and excellent for SLS printing.
Scale, Resolution, and size
Most models are printed at 1:100 or 1:50. Thin walls may break, so keep them thick enough. If the model is large, you may have to break it down into smaller sections that can be printed and assembled later.
Workflow From File to Model
1) Modeling and File Prep
Use software like Revit, Rhino, or SketchUp. Detailing can be further simplified by getting rid of model elements like furniture or thin railings. Very importantly, your model must not have any holes or non-manifold edges.
2) Export and Repair
Export the model as STL or OBJ. You can use Meshmixer or Netfabb to repair geometry and check for holes in your design. Following the model can be useful to reduce print time and the cost of materials.
3) Slicing and Supports
A slicer makes your 3D file into printable layers that the printer can read. You have to choose a layer height that will determine the level of detail that can be printed. Add supports to areas that overhang to avoid collapse.
4) Printing and Monitoring
Start the printing and keep an eye on the first few layers. The first layers are important and need to be finished well to avoid detaching and warping. Printing can take several hours to a complete day, depending on model size and details.
5) Post Processing and Assembly
After you are done printing the model, take off the supports. The resin prints need some isopropyl alcohol cleaning and curing under the UV light. For bigger projects, you can join parts by using adhesive. Using a base or frame will help with stability.
Best Practices and Tips for Best Quality
- For big models, split them into sections so you don’t warp the model, and the split sections are easier to fit into your printer.
- For fragile features like balconies or fins, use a test print.
- To prevent confusion, parts should be labelled before assembly.
- To get an even paint coverage, use a primer first.
- Lighting or a custom base can improve your presentation.
You can complete your presentation by adding 3D Exterior Rendering to your printed model. The renders will show the design, and the model will show the structure in physical space.
Use Cases: Where Physical Models Shine
There are many ways to use 3D printed models for a variety of purposes:
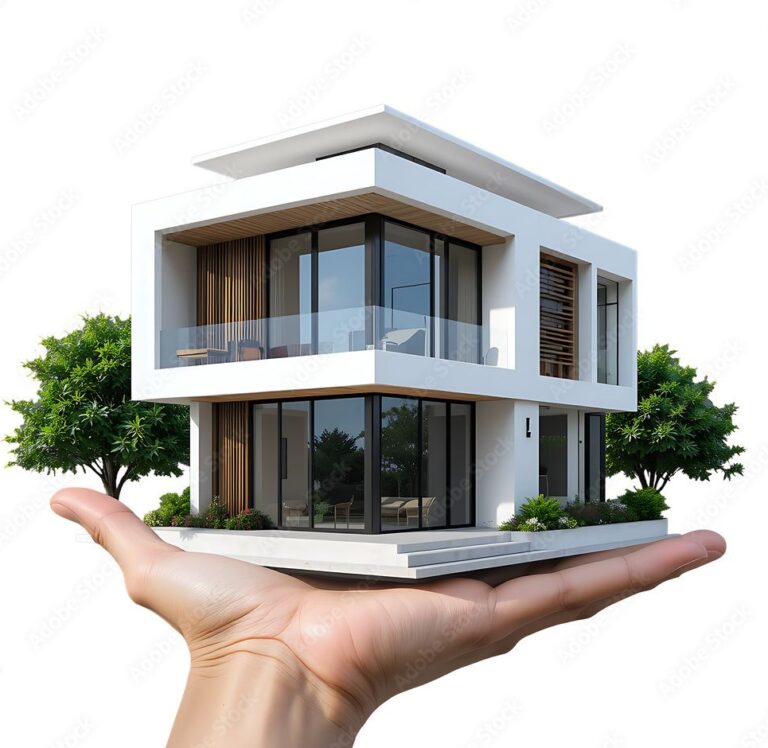
- Client presentations: Having a 3D model tends to make a stronger impression than just having drawings.
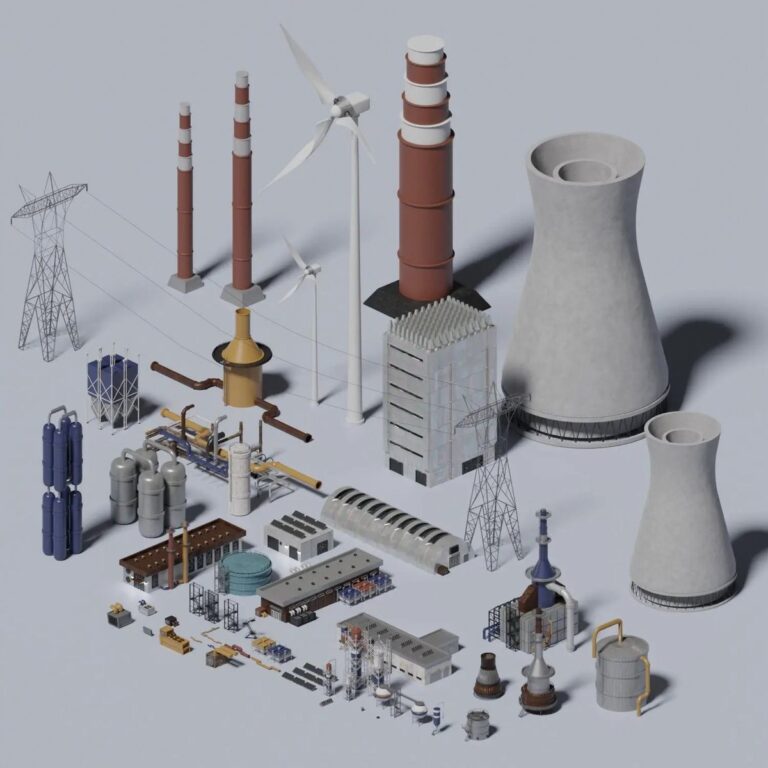
- Urban planning: Use and context models help show how a building works with its surroundings.
- Structural or facade studies: Physical models help show design problems that are hard to see digitally.
- Competitions and exhibitions: As centerpiece models are a highlight of competitions or exhibits.
- Education: Models help students learn important architectural concepts.
Conclusion
3D printed architectural models make it easier to turn digital designs into clear, physical presentations. In this guide, you learned their advantages, the main printing methods and materials, and the step-by-step process to get professional results. You also saw how 3D Exterior Rendering and 3d visualization work alongside printing to create stronger client presentations.
The future of 3D printed architectural models looks bright. As technology improves, models will become faster to produce and even more detailed.
FAQ'S
What file format should I use for 3D printing architectural models?
STL or OBJ works great. Must check if there are any printing errors before you send it to print.
Can I print a full building at life-size scale?
No. Buildings are too large to print. Models are usually made 1:50 or 1:100.
How long does it take to print a model?
It depends. Small models may take hours. Big projects can take a full day.
Does 3D printing replace 3D Exterior Rendering?
No. Rendering is meant to help communicate your design digitally. Printing is meant to support and add a physical element to your presentation.
How much does it cost to 3D print an architectural model?
Costs depend on size, material, and printer type.
What are the common issues one faces during printing?
The most common issues are warping, failed supports, and breaking thin walls. These can be avoided with the right orientation, support placement, and wall thickness parameters.